Showing posts with label How to. Show all posts

Tuesday, May 21, 2013

A Skirt Inspired

Looking around on Pinterest and the internet there are plenty of cute skirts to be found, but not so cute prices.... I decided to try to do one myself with my own flavor....

 Here it is! I like the way it turned out!

 First seam rip and cut to desired length, and have a fabric chosen for your ruffles.

 Pin and sew your "rear" seam (where my sewing foot is on in the above picture)
 Then pin and sew your back "in between the legs" fabric, Since I'm making a shorter skirt, I had enough of the cut off legs, left over to re-use. Hey, waste not want not right? After that, you'll need to measure the places where you are going to be putting your ruffles, I did three so I took a measurement of where my tape is, and two more place below that at pretty equal spacing... Clear as mud?
 Now we'll make a pattern for our ruffles, I used a quilting ruler, and it has those handy dandy diagonal lines that I used to make the "side" seams... It'll get clearer as we move along. Basically I drew half of a trapezoid, to be placed on the fold of your fabric. The "top" of your trapezoid is going to be attached to your skirt, the bottom is going to be free, the diagonal lines are going to be attached to the sides of your skirt. The tissue paper below is how my pattern looks, I don't know how clear it is to you, but try enlarging the picture, if that doesn't work, let me know and I'll edit this post to show a clearer picture. Also, Be sure to add seam allowances!
 Here's one of the pattern pieces cut out and on the fabric getting ready to be cut:
 I hemmed all the way around the pieces, so they wouldn't unravel. For the top ruffle I seam ripped the bottom of the back pockets out so I could sew right over the ruffle and still be able to use those pockets.
After this point I kinda forgot to take more pictures of the process: To create more of a ruffle effect on your bustle, you'll have to add a few gathers.... That's all I can really say for now, my son woke up.... 

Sunday, February 5, 2012

Scrunching

So I was talking to my sister-in-law, Lizzy to see how she scrunches her hair and so I decided to try it for my self, so if you’re going to try it here’s what you’ll need: styling mousse, clips, wet/damp hair and time.

First your hair needs to be wet enough, but not too wet otherwise your hair won’t “set” right. And then you’re going to work the mousse through your hair, all the way through. Next you’re going to take a section of your hair (I did my hair in sections because my hair is so thin it will dry faster and also it’s easier for me), let the ends sit in your palm and and bring your hand up to your scalp, as you’re bringing it up keep your hair contained in the center of your palm. Kind of making a messy looking nest. Then once you bring is mess up to your scalp, clip it there with a clippie.

You do this to your whole head and walk around looking kind of goofy for a few hours… Like me:

pregnancy1 048

And as you can see: I used Herbal Essences mousse. Overall the effect on my hair was thus:

pregnancy1 052

We were having some meetings so I wanted to do this with my hair for that night…. if you wanted it for in the morning I believe if you bobby pinned the sections (so the bobby pins were flat against your head so as not to stab thyself) and then wrapped your head in a bandana to keep your hair contained, I think it could work. If you try it that way let me know how it turns out!

(sorry I couldn’t rotate the pictures)

Wednesday, March 2, 2011

Towel Creations: Hanging Monkey

Ok, this is an interesting one... if anyone doesn't understand... let me know and I'll post a video of it instead... I just want to try it this way first... with pictures :) Please try it and let me know if I was clear enough or not... Thanks... Isn't he so cute?!?!

Have a large towel to begin with

Roll in the sides to the center of the towel


It should look like this

Now flip it over

And fold in half so the "rolls" face out ward

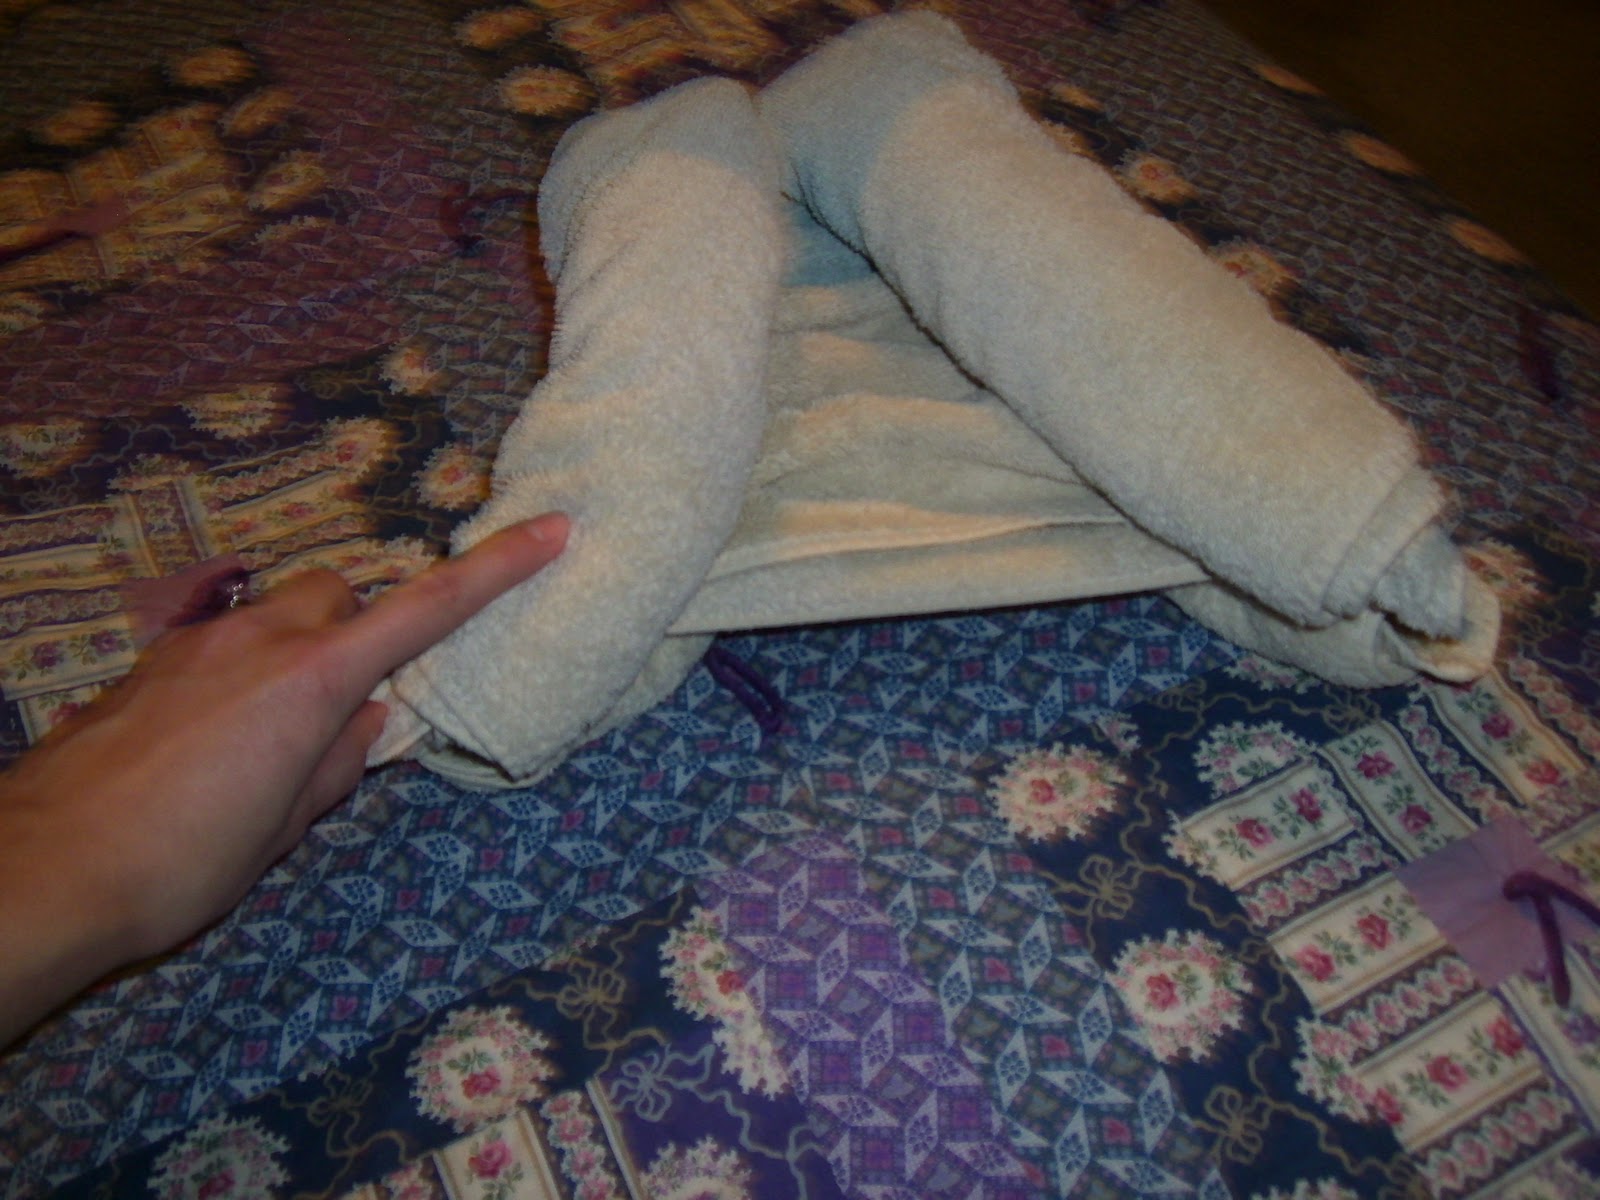
Pull out the corners of the towels out of the rolls... Just a little tug will do.

Now here comes the hard stuff: grab the corners of the towels in both hands and pull the 2 left rolls and the 2 right rolls apart

And keep going

Keep going


Until it looks like this. You put it on it's "stomach"

This will be your Monkey's Body

Flip the body over unto it's back

Pin the "arms" and "legs" together so he doesn't fall apart.


This is a medium towel for the monkey's face. ( A hand towel) fold it in half "width-wise"

Fold in half "width-wise" again. (have the first crease on top like I have it here, it'll make things easier for you)
And then fold it in half length wise... Like the picture shows, if you can read it.


This is your monkey's head and face

Sandwich his/her head in between the arms as shown

Give him/her some sunglasses

and I put a pnytail holder in his/her mouth for a tongue
So this is how you make a monkey out of towels.. Like I said above, if this isn't clear I'll post a video.. Thanks for reading!

Saturday, February 5, 2011

The French Twist

Please forgive me if this doesn't work!! I think there may be extra music at the end... you can just stop listening after the credits roll haha!

Monday, November 8, 2010

Packing For a Trip

Since I'm packing for a week-long trip to Arkansas and Texas, I just thought I'd show everyone how to pack with the upmost efficiancy. So here it goes:

First off a few days in advance one must make a list of everything going with you on the trip. I say a "few days" because then one may look at the list and consider what one's packing and if one actually needs to bring that special thing, or if it can be left behind. here's an example of my list:
When it comes to a day or two before, you may start packing and checking things off the list. When packing the suitcase for your trip, you want to roll you clothes together. I roll only about 5 t-shirts together, and 3 skirts at a time. The more rolled together the bulkier it is. Also another thing is if you have a skirt or shirt you don't want to have wrinkled, put it on the outer most part of the roll... to do this you stack your shirts/ skirts folded in half. What you want to have the un-wrinkled on the bottom of this "stack" you roll skirts from the waist down to the bottom, and shirts from the neckline down... When put into the suitcase it should look like this:
You can use socks to fill in spaces. In the Zipper pocket one might put personal items that are absolutely necessary. I won't say what.

Now, for packing the carry on (if you're going on a plane) you should also make a list for this too. There are no real tips for the carry on except make sure you have an extra outfit in your carry on in case the airlines lose your luggage. And make sure any liquids or gelss are put in a quart sized bag and are under 3.4 oz. (or whatever that airline says, it may vary) and that's pretty much it:

Now a question for you:
What is the most memorable trip you went on?